Showing posts with label chocolate. Show all posts

Saturday, 23 February 2013

THE TORTE :)


I want to start off with an apology as this torte post has been REALLY overdue. Since then I have made 3 tortes which has actually educated me further on what works best.

Thanks to all my friends that have helped me, especially Miss Tamsin Wilson who brought me an ingredient which vastly improved the recipe (details to follow)

The original reason I selected this dessert is that I was cooking for me and my family and Josh and his family at Christmas and my mom is allergic to eggs, which limits the elaborate pieces you can create. However, Thanks to the BBC Good Food wizards you gave me

Salted Caramel Chocolate Torte (recipe etc in the link)

Firstly, the buttery biscuit base....


Bashy fun - great way to release stress and tension (thanks to Lovegrove for the fabulous new rolling pin)


 Add the butter to the biscuit slowly or the yummy juice will not spread evenly


Try your best to evenly distribute the smashed up digestive biscuits - don't scrape as it will upset the levelling process...


The Caramel core.....*drool*

For many years I have got through cooking life without a pestle and mortar and I did manage to crush my whole sea salt with a spoon although I now have some funky spoons. On my 3rd making I used my Pestle and Mortar (thanks Emma and Simon and it does make a huge difference to the distribution of the salt in the caramel..

HANDY HINT - Salted Caramel is a GREAT hangover cure.....I recommend having some in your store cupboard  in case of emergency.


Although the recipe says 1 tsp of sea salt, I added and tasted throughout (because I wanted to check the balance was right.....honest) I am quite sensitive to salt so this worked best for me.


When putting the caramel on the biscuit base I recommend a lot of care and attention. After mixing in the crushed sea salt the caramel loosens up so it tends to be a lot more runny.

The chocolaty gooey yummy bit...


Here is where Ms Wilson delivered the wonderful Extra Thick Cream. The extra thick cream really reduced the amount of time that the torte had to set and really added an extra shine to the mixture. If you have the option of this DO IT for the torte....


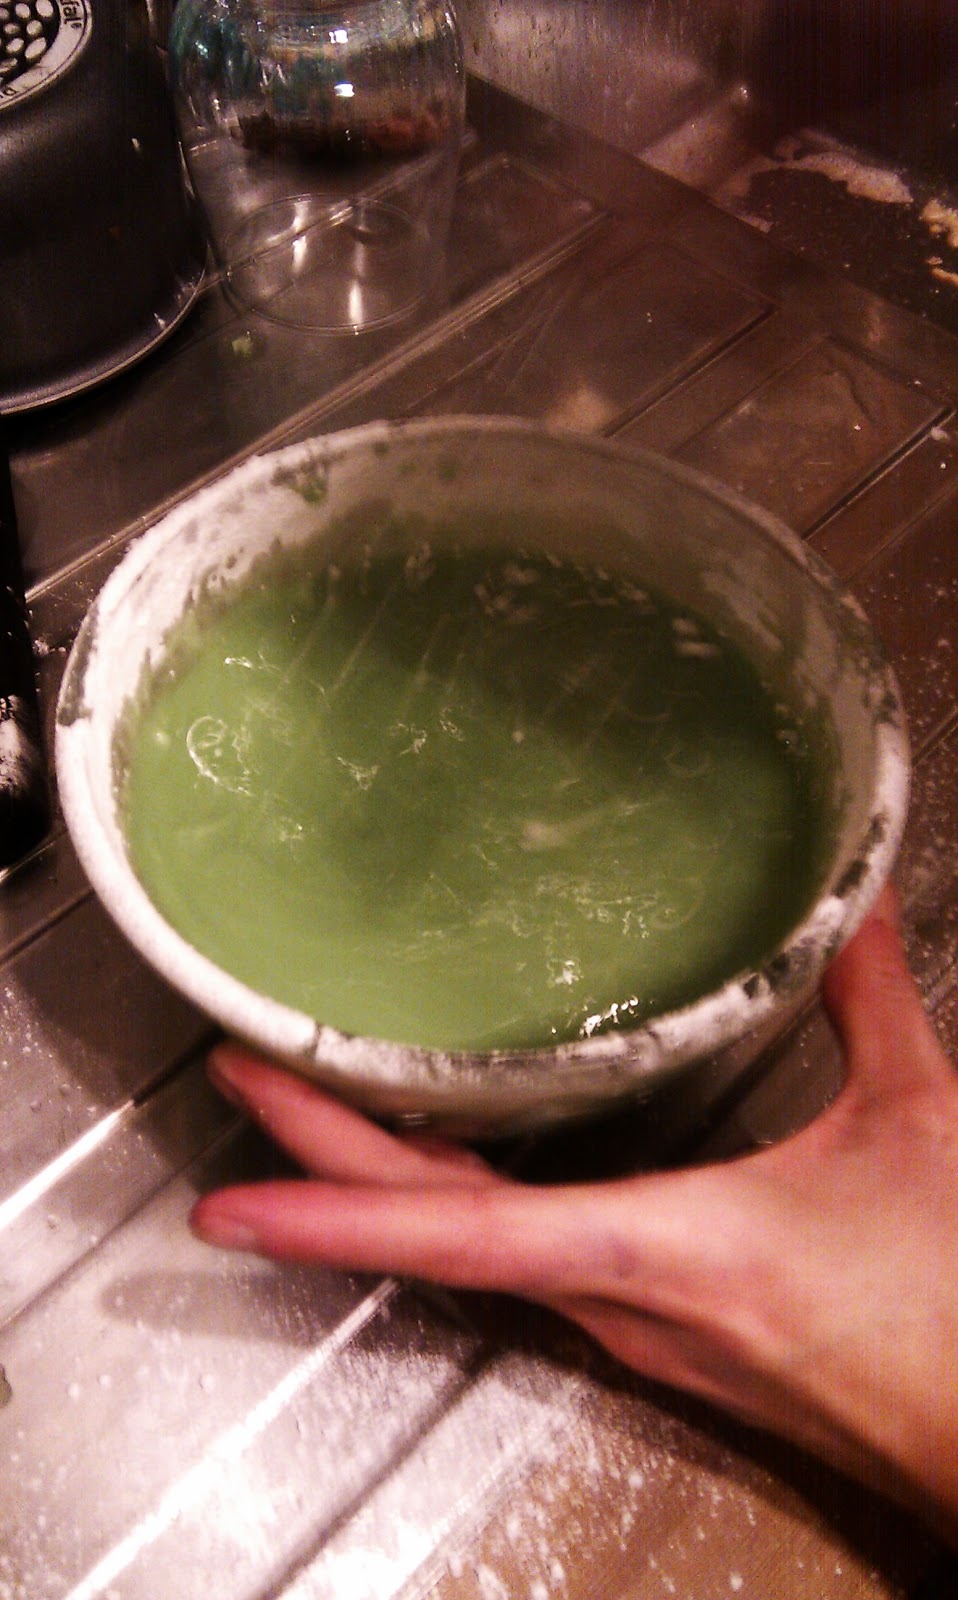
The Icing Sugar mixing can be a little messy but it turns out for the best....


 Adding the chocolate...

Once the caramel is set its time to get that bad boy on the road


Make sure you add the mixture around the caramel blob to seal it in (it keeps it in the middle....)

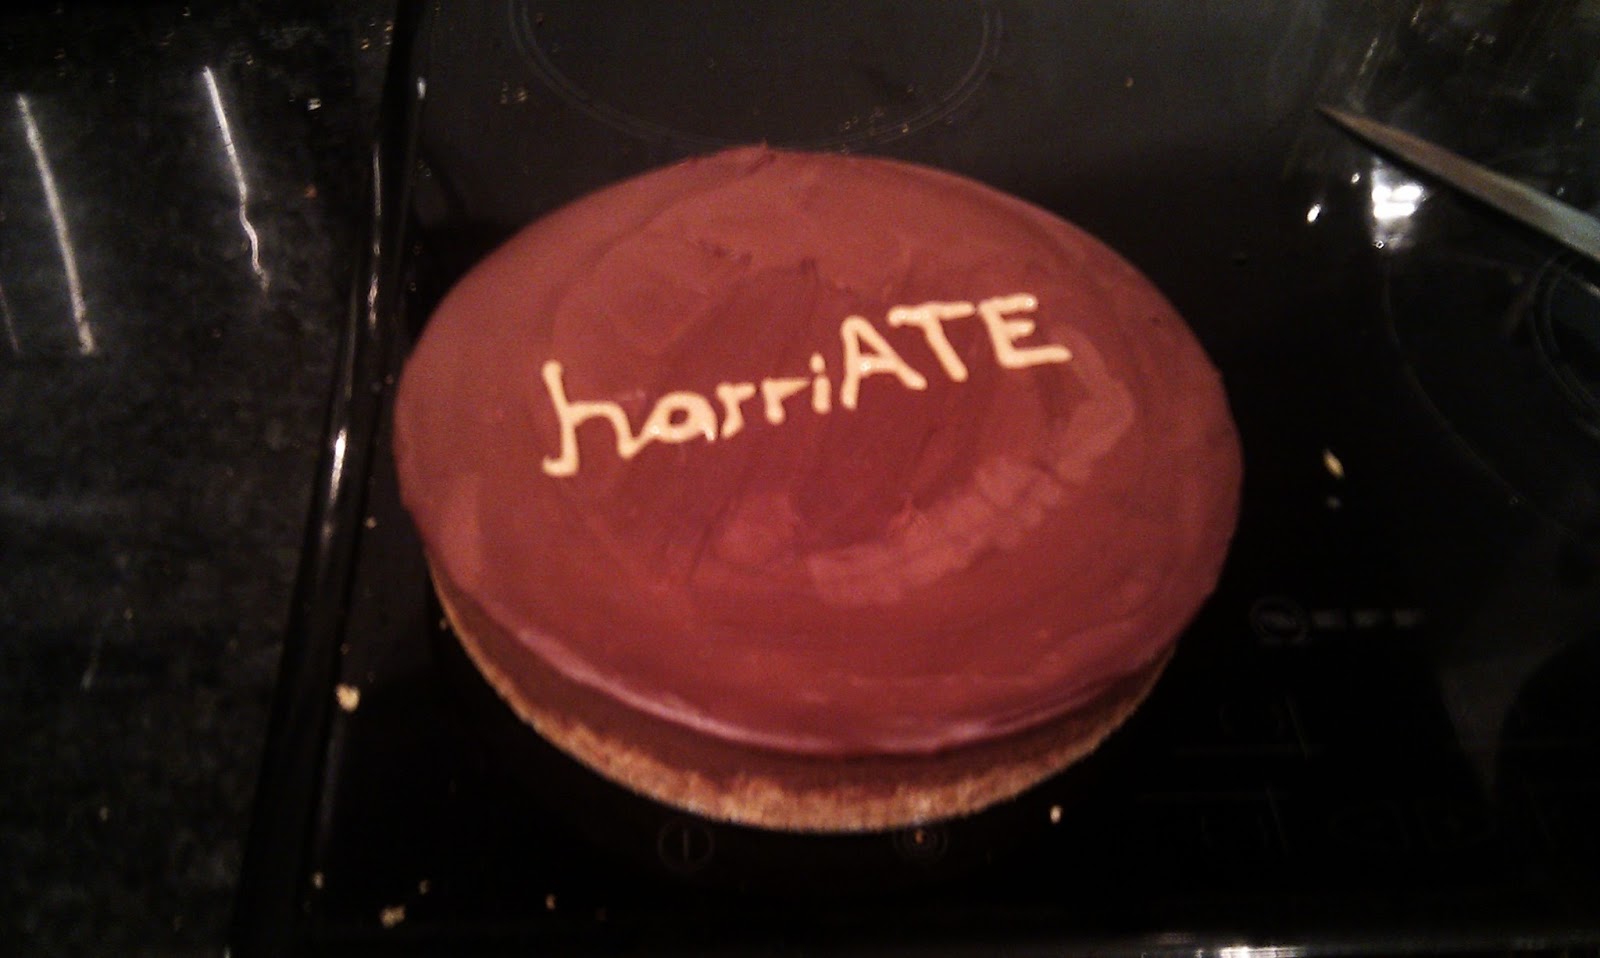
TA DA!!!

 Leave it to set in the fridge. The extra thick cream meant that this bad boy was ready to roll in around 3 hours unlike the  normal double cream mixture which I ended up leaving overnight.


The Decoration


Cream and caramel mix


The icing set


Now as you know my dyspraxia means I am not the best with fiddly things as my hands seem to be all over the place....Thank goodness for Mr Joshua who is wonderful and took the role of executive icer...


Making this dessert has really boosted my confidence in making sweet things as I know its not my strongest point. It helps that friends and family have said that they have enjoyed it too....Think it may be my fave pudding now...

What's your favourite pud?


Eat Drink and Be Merry


H xxx

Sunday, 9 December 2012

Christmas Craft Weekend - The Results!


Howdy all and apologies for the delay, things have been more than hectic. But it's back by popular demand....Harriate!


So me and lovegrove embarked on a day of drinking and craft round at Jessie's house on the 24/11 and oh what fun we had. 

I did a lot of the unknown or as it is known to you all Baking!

I even got a bit carried away with the creation side that i forgot to photograph 2 of the recipes ...whooops. I'll get them out of the way first..


Toffee Popcorn Bark - This one was simple but effective and went down a treat with all the people in the room so comes highly recommended as a special treat.

Here's what the wonders of the bbc made it look like:


Needless to say mine didnt come out quite as preened. 


You will need:
  • 200g milk chocolate
  • 200g white chocolate
  • 2 x 30g bags toffee popcorn   We just got a big bag of popcorn and made it more popcorn based!

As I am totally ill prepared for the world of baking we didnt have the '20 x 30' baking tray and used a lovely oval baking dish lined with baking parchmant (thats right we had some!) Melt the chocolate (white and milk seperate) and allow to cool a little. Pour most of the choc into the dish and swirl around, chuck in the popcorn and top with the remainder then chill!

So Yummy. As I said up there the cutting wasnt nearly as elegent as the BBCs version but made great finger food during the party - get involved.

The Drink....

The second one without a pic of my own was the trusty alchol mixture that we made. Now during the festive season I'm a sucker for mulled wine however, i felt for day time drinking something lighter was needed hence/.....


WINTER PIMMS PUNCH (recipe can be found HERE :) )

I was a little sceptical as this has brandy in - the only time i use brandy is for Steak Au Poivre but decided to get into the spirit of festivities and give it a whirl. I must say that i found it a little overpowering so decided to top up with a lot of lemonade. It left the mix tangy yet warming and if you like Pimms you are well in. The BBC have got some great drinks suggestions, have a looksie 


So here comes the photos:


You will need:


200g marshmallows
3 tbsp golden syrup
100g Rice Krispies    100g of coco pops - oooh yeah i live wild
6 ice-cream cones
500g icing sugar
½ tsp green food colourings
sweets and sprinkles , to decorate


You need to melt the marshmellows and golden syrup together then add the coco pops. Once the heat is taken off you need to move quickly as the marshmellows start to set - push the mixture into the ice cream cones but make sure youre careful we had a few casualties and leave to set for a while


Mix icing sugar with water and green food colouring to make a thick paste. There is no evidence to support the fact i added a little too much water and had to add more icing sugar. Im not going to lie it tasted a bit bitty (does that even make sense?)


Once the cones themselves have set, dip them into the icing sugar mixture and then decorate. Points of error for this section include - we didn't have any lolly pop sticks or a cooling rack. This made the pops hard to balance and they wobbled over a few times. We had bought some pretty accessories including soft balls (hehe) of silver and pink and general confetti. 


They all looked good and here's an example. The taste wasn't as good as the appearance  They were really stodgy and rich - we couldn't even finish one. My error with the icing sugar made a difference for sure. 
For this i think ill blame the punch. Yeah it intoxicated me :S that's my final story.


The day after the night before....the baking continues.


The Cinnamon and Raisan Loaf.

You'll need:

190g/7oz softened unsalted butter
190g/7oz caster sugar
3 eggs, at room temperature
190g/7oz plain flour
1 tsp baking powder
1/4tsp salt
25ml/1fl oz soured cream
1 tsp vanilla extract
1 tbsp ground cinnamon
70g/2 1/2oz raisins


Preheat the oven, 170c/160c fan/gas 3 and grease the loaf tin (I had to buy this especially)

While the oven's preheating, you cream the butter and sugar together until creamy and pale. Then you beat in the eggs one at a time, beating well after each addition, scraping down the sides as you do so with a spatula. Sift in the flour, baking powder and salt, then using the same spatula, you fold in the dry ingredients. Once the flour's been combined in, fold in the soured cream and vanilla. Into a smaller bowl you spoon in about 200g/7oz of the mixture, then you fold the cinnamon into this, and into the vanilla mixture you fold in the raisins.

Pour in the vanilla mixture first then the cinnamon and then you swirl it with a skewer.

Bake in the oven for 50-60 minutes, until a skewer inserted in the middle comes out clean. Once baked, take out of the oven and leave to cool.


Turn out of the tin and slice likeaso....


And serve with some amazing cornish clotted cream ice cream....


Now for this i did have a lot of help off lovegrove. Turned out really nice and dare i say it? Moist. The only thing I wanted was a stronger cinnamon taste so be liberal. If youre a beginner like me make sure you have some supervision!


The one I can do allllllll by myself....The Peanut Butter cookie :)


You'll need

  • 115g of butter,crunchy peanut butter, caster and muscavado sugar and rolled oats
  • 1 egg beaten
  • 1/2 teaspoon of vanilla essence
  • 85g flour
  • 1/2 teaspoons of bi-carb and baking powder

The method in the madness


  • Oven to be set at 180c. Grease a baking tray
  • mix the butter and peanut butter together. Beat in the suagrs, the egg and the vanilla essence
  • sift in flour, bi-carb and baking powder then add the oats
  • Shape the mixture into flattish balls and make sure you space far enough apart


  • Bake for around 12 mins and leave to cool for 2.
These were tasty but i did have a spacing issue:

hmm soft gooey goodness


Easy fun and tasty to make - we added some milk choc chips on top for even more sugary goodness


The Jammy Biscuits:

You'll need:

  • 225g of unsalted butter
  • 100g caster sugar
  • 200g plain sugar
  • 100g ground almonds Not for me thanks!
  • 100g of strawberry jam

Method:


  • Beat together butter and sugar and add flour - leave dough to chill for an hour
  • Knead dough, roll and shape and divide into equal size balls.
  • Using one ball roll out until about 5mm thick and cut out as many shapes of your cutter as possible and repeat with the second ball. Make sure you cut small circles in the second shape batch.


  • Cook cookies for 20- 30 mins at 140c and allow to cool.
  • Place blob of jam on the shapes without the circle cut out and place holed cookie on top gently


TA DA. Not perfect but not bad for my first attempt.


The biscuit turned out more shortbread like but it was really tasty. I added a little extra jam than the recipe called for just cos i like it.


So the non baking trial:

Feta and Sweet Potato Quesadillas


 4 Sweet Potatoes
200gs Feta Cheese
Handful of fresh coriander
Drizzle of olive oil
Freshly ground black pepper
8 Tortillas


Roast the sweet potatoes in a hot oven for around 50 mins - check they are soft with a skewer. Scoop out potato filling into a bowl and mash using a fork and adding the oil and pepper. Add the coridander and continue to mash. Crumble the feta into the mixture and gently mix in.

Take a tortilla and add mixture down one side. Fold over.

Warm a griddle pan and add the tortilla to it when hot. Leave to cook on one side for a few minutes and turn over. Cook until the feta is starting to melt.
Serve with some mexican dips - salsa, guacamole and sour cream.

A nice hearty and filling snack. Good mixture of flavours with coriander and pepper adding a little kick.


So thats me all caught up.
What would you recommend for me to have a go at baking?


Enjoy your week and have a look at my Christmas Tree

Eat, Drink and Be Merry.

H
xx


Sunday, 28 October 2012

Stir Fry, Curries and Baking!


Hello all! I've tried out 3 new things this week that I want to share with you. They range from great all the way through to 'must try harder' (think this one is more me related than the recipe itself though!)

The week favourite is.....


Simple Goan Curry! 

For the marinade:

I love love love spices and curry as you all know by now. This dish uses some of my favourites such as cumin, tumeric and coriander. 


These spices are combined together in a dish with some lemon juice and water. I must admit I got a bit excited with the tumeric adding a teaspoon rather than half. Mixed together as a paste it looks like this


 To this mixture add the chicken and marinade for between 30 minutes and an hour.


For the pan:


Sorry about the bluriness! 

Its a can of coconut milk, mustard seeds, onions and garlic. The idea of adding a whole can of coconut milk was a bit much for me, so I ended up using just over half and this proved to produce enough sauce for me and josh. The downside to my limit on the coconut meant the dish turned out to be more spicy than it perhaps should have been.This doesn't bother me as I like a dish that makes me sweat (I probably should say sweat in a food blog but alas).

The recipe sees that you fry the mustard seeds before adding chopped garlic and onions - do beware, those seeds don't half jump. Fortunately my glasses acted as a protective shield to my eyes when checking this process out.


I added the chicken to the mustard seeds, onion and garlic and the smells from the spices were amazing, rich and delicious! I cooked this off for around 5 minutes before adding the coconut milk. If you're like me it may be worth adding about half and seeing what you think. 


It says to simmer for about 12 minutes and I left it for about 10, it did reduce and thicken slightly but I was happy with the amount of sauce available!


The flavours were rich and potent in this dish. For Josh it was a little on the hot side and this maybe that I went a bit spice happy and didn't want to add that extra coconut milk. For that me and Josh thought this recipe was 8.5/10!


 Here is my finished product....


The average one of the week:

Nigel Slater's quick, mildly spiced beef recipe. 

I originally got the recipe from the guardian website at the beginning of October  I went back to get the link but it has expired. Everywhere else I search seemed to take forever to load so I'll type it out for you.

You will need:
  • Oil for frying
  • 500g of cubed beef
  • 2 onions sliced
  • 3 garlic cloves chopped finely
  • 2 teaspoons of ground cumin
  • 2 teaspoons of ground coriander
  • 1 tablespoon of garam masala
  • 500 ml of vegetable or beef stock  my hatred of watery dishes means I only used about half of this.
  • 1 tablespoon of grain mustard
  • 200 ml of double cream  As ever I removed this and used good old creme fraiche around 3 table spoons


 The recipe said it had enough for 4 but as ever it fed 3 of us providing 'normal' portions. One thing that myself and Wayne (a friend of mine and Josh's) said that it lacked was some form of veg. Josh of course thought more meat would have been the answer but there wasn't much bulk to the dish. Next time I think I would add some peppers for that extra bite.

The recipe says to season the beef and fry then remove from the pan. Although I can see that this may benefit in terms of adding extra flavours but I was cooking to a deadline so I firstly:

I added the onions, garlic and oil to my wok and fried until golden brown. I then added the cumin, coriander and garam masala for around 3 minutes. I then added my extra lean beef strips and cooked for a further 5 minutes, allowing the meat to mix in with the spices. I added my half measure of stock and left to boil for 10 minutes.

After this I added my mustard and the creme fraiche (mixing this in thoroughly) and let to simmer for a few minutes. The spice mixture for this dish  saved the day in all honest.  Yes it is quick and easy but it lacked that extra dimension that veg would have added. I'd say about 5 or 6 out of 10. I will try again one day and let you know how I go.

The needs more practice dish of the week:

As I mentioned when I started my blog, my forte and confidence lies in savoury dishes. My mom is allergic to eggs so pudding and pudding making always took a back seat in my cooking. I have been experimenting recently and my friend Jessie has been helping me with it. As an avid reader of the BBC food section I came across Marshmallow Brownies.

As I am so new to the world of baking, I always follow every instruction to a T and did so for the brownies. I must say I was shocked (and secretly excited) about the amount of sugar that went into these bad boys and as a result made them even more irresistible to me.

We didn't have any square tins so used circular ones. As we felt the mixture was a little on the thick side, we cooked for about half an hour rather than 20 minutes. We took it out the oven and chilled as advised. Whilst the outside was moist (shudder) and delish, the middle seemed to have remained gooey.


Should we have cooked for even longer and risked burning the outisde or have I missed something? Answers appreciated!


hmmm a little rough around the edges

Despite the hiccups the taste was great and the mashmallows were amazing next to the brownie. I even had to remove it from my house so i didn't try and eat the goo. I think that speaks volumes!


And the final one of the week is the 'trusted classic'. 

 Pork, Green bean and oyster stir fry.

When Josh and I moved into our house a friend bought me a recipe file and I stuffed it full of dishes I wanted to try. This one sat in there for a while and is now one of our favourites.


The ingredients I used are just here. As I didn't have any pork in the house (it is much more fattening) I used turkey steaks that i sliced into strips. 


Others are:

  • Lime juice - 1 Tbsp needed
  • Chilli sauce - 1 Tbsp needed (I add 2/3)
  • Oyster Sauce - 75ml needed
  • Soy sauce - 1 tsp needed (I use about 3 table spoons)
  • Garlic cloves - 2 needed, finely chopped
  • Onion - 1 needed cut into chunky pieces. The recipe actually calls for red onion but this doesnt agree with me so I use standard cooking onions
  • Green beans - 140g halves (I use frozen green beans and just cook them for slightly longer)
  • Noodles to serve


I know that me ADDING more moisture is rare but when I tried this for the first time I found that the sauce wasn't substantial enough to coat the chicken, beans and noodles so I added more.


Step 1 -

Mix the lime, chilli sauce, oyster sauce and half the soy in a bowl.

Step 2 -

Coat the meat in a dash of soy, salt and pepper. Once this is thoroughly mixed, heat the oil in the wok and toss in the meat. (Start to boil the water for your noodles)


Step 3 - 


Add the garlic onion and beans and cook for around 4 minutes.(If your beans are fresh the recipe recommends around 2 minutes) Add your noodles to the boiling water and cook according to packet instructions.


Step 4-

 Add the sauce to the wok and simmer for 2 minutes, it should thicken slightly.

Step 5 - 

Drain your noodles and add to the mixture, toss in until mixed together.

My finished product

The recipe offers a unique flavour, almost sour and salty with the oyster sauce and the lime. Extra tang offered in by the garlic. I often add a glug or 2 extra of the chilli sauce for that extra kick or even some freshly chopped red chilli depending on my mood. This recipe will serve 3 hungry people or 2 people with extra for a lunch time portion! All in all takes around 25 minutes including prep time!


I am on half term this week and I am travelling out and about! I'm sure I will do some cooking but I have a feeling next weeks blog with contain some restaurant reviews! 

Have a great week.

Eat, Drink and Be Merry!

H x